
Australian spider questions
What Photos Do You Need to Identify a Spider?
How to take useful spider photos without handling it: size, location, web, habitat, top view, side view and safety boundaries.
Quick answer
Start here
The best spider ID photo set is not one perfect close-up. It is a small story: one clear body photo, one size clue, one habitat shot, one web or hiding-place shot, and the state or suburb-level location.
Useful clues
What to compare first
These clues are designed to support the spider profiles, not replace them.
The hero shot
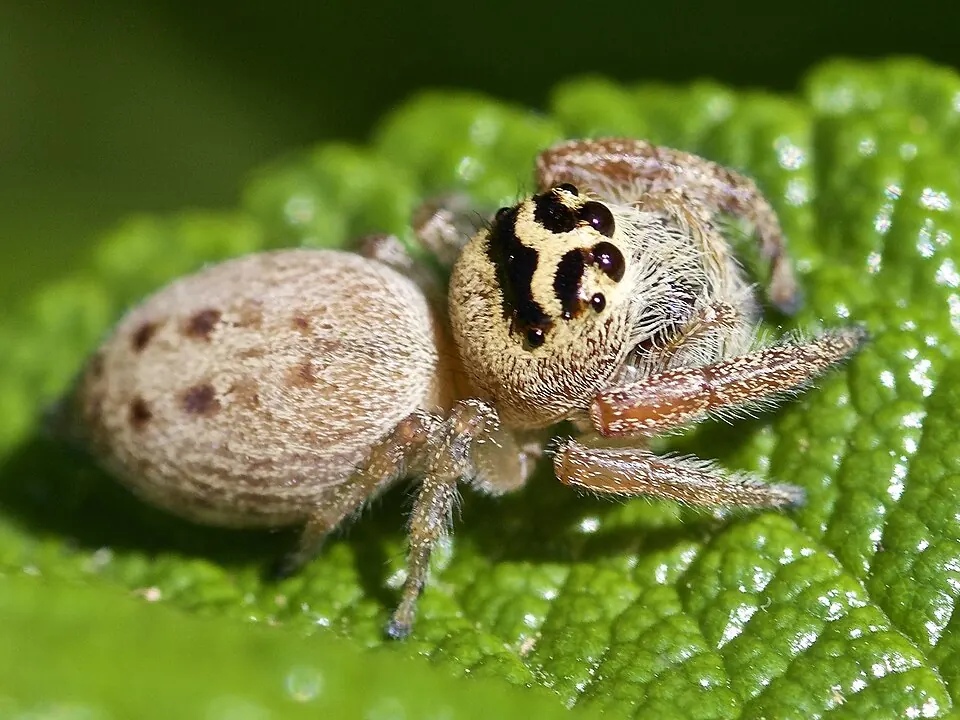
A clear top or angled photo showing body shape, leg posture and markings.
The context shot
The web, burrow, wall, car, towel, garden bed or window frame often solves half the puzzle.
The scale clue
Use a coin, container edge or familiar object nearby. Never place your hand close to an unknown spider.
Practical steps
What to do next
- Take photos from a safe distance first, before trying to move anything.
- Capture the whole spider, not only the abdomen.
- Write down the state, nearest town or region, and where it was found.
- Mention whether it was running, sitting in a web, carrying young or guarding an egg sac.
Start with a whole-spider photo and context shot
A useful spider ID photo set shows both the spider and the setting. Start with a clear whole-body photo from a safe distance, then add a context photo that shows the web, burrow, wall, car, towel, garden bed or room where it was found. Add the state or nearest town, because location often narrows the shortlist before colour does.
Use three or four photos, not one close crop
The best set is usually three or four images: a top or angled body photo, a side or leg-posture photo if safe, a wider habitat photo, and a scale clue such as a nearby coin, container edge or familiar object. Do not put a hand near an unknown spider for scale. One close crop rarely settles the question because size, web and setting carry much of the identification value.
Add habitat and scale without using your hand
The missing clue is usually context. Take the safe-distance photo first, then add a wider habitat shot before trying to move anything. If a scale clue is needed, use a nearby object, container edge or coin already near the spider; do not place your hand beside an unknown spider for comparison.
Common mistakes to avoid
Do not identify from colour alone, do not handle the spider to get a better photograph, and do not treat a Reddit-style guess as a safety decision. The scale clue: Use a coin, container edge or familiar object nearby. Never place your hand close to an unknown spider. When the situation involves a bite, a child, a pet, or a spider that might be medically significant, the sensible next step is health or veterinary advice rather than a more confident online label.
How to use the linked profiles
Use the linked profiles as a comparison set, not as a forced answer. Start with jumping spider, wolf spider, garden orb weaver, then check body shape, web or hiding place, region, size and the notes on what to check next. If one clue does not fit, keep the comparison open instead of trying to make the spider match a favourite guess.
What a better photo or note would include
A helpful record does not need to be dramatic. One clear photo of the spider, one wider photo of the place it was found, an approximate size, the Australian state or region, and a note about web or movement will usually beat a single extreme close-up. If the spider is in a risky spot, take the wider photo first and keep distance.
Why the answer may stay uncertain
Some spider groups overlap in colour, size and posture, especially in phone photos. Juveniles, males away from webs, poor lighting and damaged webs can all hide the best clues. A good guide should give a practical shortlist and explain the next clue to check, not pretend every photo can be pushed to species level.
A practical next move
Mention whether it was running, sitting in a web, carrying young or guarding an egg sac. If nobody has been bitten, this is usually a calm observation problem: take a safer photo, note the state or region, and compare the closest profiles. If a bite has happened or someone feels unwell, identification becomes secondary to first aid and professional advice.
Prepare safer context shots next time
For indoor or household encounters, reduce clutter around stored items, shake out towels or shoes when the question involves clothing, and keep outdoor lights, sheds and window frames in mind because they attract insects and the spiders that hunt them. For garden encounters, gloves, a torch and a no-poking rule are simple habits that keep identification safer.
Profiles to compare
Open the closest spider profiles
Use these pages to compare shape, web, habitat, range and safety notes.
Common questions
What Photos Do You Need to Identify a Spider? FAQ
Do I need to catch the spider?
Usually no. A safer photo plus habitat notes is better than a risky capture.
Is a single photo enough?
Sometimes, but two or three context photos are far more useful.
Should I include bite symptoms?
If someone was bitten, seek medical advice. Identification is not a substitute for care.
Sources used
- Australian Museum spider information
- Australian Museum funnel-web spiders
- Australian Museum black house spider
- Australian Museum white-tailed spider
- Australian Museum huntsman spiders
- Australian Museum mouse spiders
- healthdirect spider bites
- Better Health Channel spider first aid
- Australian Museum huntsman spiders
- Queensland Museum arachnology collection
- Western Australian Museum arachnids overview
Identification is not medical advice
This guide helps with spider identification clues only. If a bite has occurred, or a person or pet seems unwell, follow Australian health or veterinary advice and seek urgent help for serious symptoms.